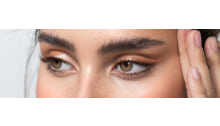



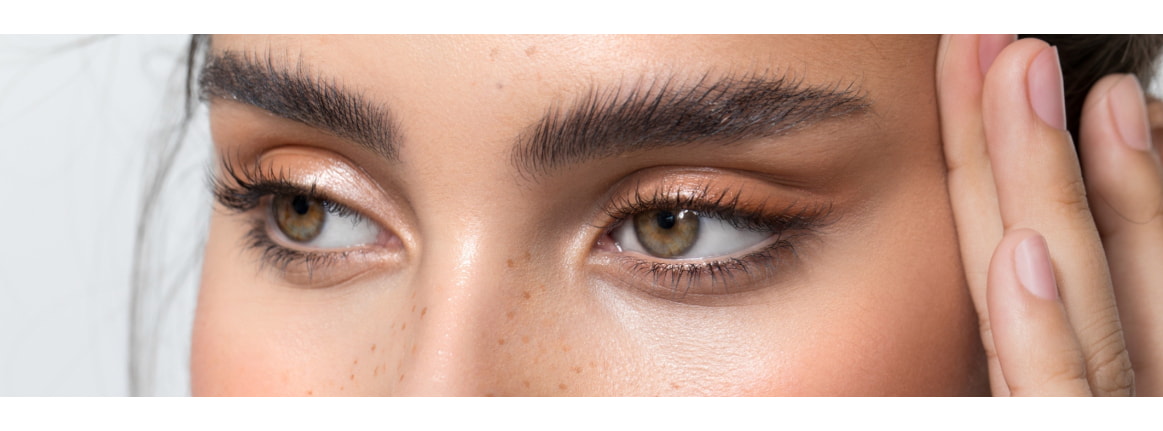
Perfectly styled brows right after waking up? Sounds too good to be true – but it’s not! With a DIY Brow Lifting you can easily shape, lift and set your eyebrows – for a naturally fresh and wide-awake look, without the need for an eyebrow pencil or mascara.
The best part? You save time on your makeup routine, instantly look polished and start your day with a real beauty boost.
Why Brow Lifting Will Transform Your Beauty Routine
Eyebrows give your face expression and definition. They show whether you look surprised, awake or tired – and that is exactly what you can use to your advantage with a Brow Lifting. The lifting keeps your brow hairs beautifully lifted and in place, makes your eyes look more open and awake while helping to conceal sparse areas.
Even trendy, bushy brows can be super easy to style this way – and the result lasts for several weeks. In this guide, we’ll show you step by step how to do a professional Brow Lifting at home yourself – including tinting for even more definition and expression.
What you need for Brow Lifting & Tinting
If you want to do a Brow Lifting yourself at home, we recommend the Eyebrow & Eyelash Lifting Set from a.n.d. Beauty. It contains (almost) everything you need to lift your brows professionally – conveniently from the comfort of your own home.
For the lifting:
-
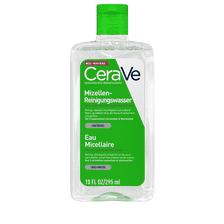
Micellar water: for cleaning the eyebrows before and after the lifting
-
Lifting Set from a.n.d. Beauty: contains all the essential products you need for your Brow Lifting
-
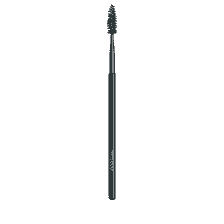
Microbrushes & Brow Brush: for precise application and shaping of the brows
For tinting:
-
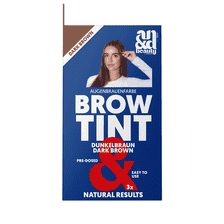
Eyebrow and eyelash tint: choose the shade that suits you
-
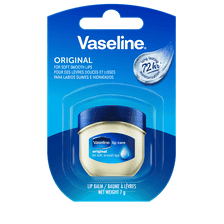
Barrier cream: e.g. Vaseline or Aquaphor – protects the skin around the brows
-
Tinting dish: for mixing the tint and developer
-
Tinting brush: for clean and even application of the tint
-
-
 Prezzo finale CHF 20.00 Regular Price CHF 25.0020 %500 ml
 -




DIY Brow Lifting – Step by Step
Important note: These instructions were created in conjunction with the Eyebrow & Eyelash Lifting Kit from a.n.d. Beauty. Before using the kit for the first time, please read the enclosed instructions carefully and always perform an allergy test before starting the lifting process.
This also applies if you are using a kit from another manufacturer. As with tinting, Brow Lifting involves chemical substances that may irritate the skin and eyes. Please follow all safety instructions and warnings on the packaging and in the instructions.
-
Clean the eyebrows
Thoroughly clean your brows and the surrounding skin with micellar water. The skin must be free of oils and residue so that the lifting process works effectively.
-
Apply Lifting Glue
Apply the lifting glue to the eyebrows and wait until it has dried slightly. Then brush the hairs upwards into the desired shape using a lifting brush.
Note on the glues:
Lifting Glue Starter: takes effect after 45 seconds
Lifting Glue Expert: works immediately
-
Apply Perm Lotion
Apply the Perm Lotion gently with a microbrush, only to the hairs and not to the tips.
-
Remove the Perm Lotion
Carefully remove the lotion using the flat side of the lifting brush or a dry cotton pad.
-
Apply Fixing Lotion
Apply the Fixing Lotion to the hairs as before, again only in the direction of hair growth and without applying pressure.
-
Remove the Fixing Lotion
Again, gently remove it with a brush or dry cotton pad.
Processing time depending on hair type
Fine hairs
-
Starter: 7 to 8 minutes
-
Expert: 3 to 4 minutes
Normal hairs
-
Starter: 9 to 10 minutes
-
Expert: 5 to 6 minutes
Strong / downward-growing hairs
-
Starter: 10 to 12 minutes
-
Expert: 7 to 8 minutes
-

-
 Prezzo finale CHF 15.85295 ml
 -
-
 Prezzo finale CHF 15.95 Regular Price CHF 22.9531 %


Dye Your Eyebrows at Home – Step by Step
Important note: This guide is based on the Brow Tint Kit by a.n.d. Beauty. Before using it for the first time, please read the enclosed instructions carefully and always perform an allergy test before you start tinting.
This also applies if you are using a tinting kit from another manufacturer. As with brow lifting, brow tinting involves chemical substances that may irritate the skin and eyes. Therefore, follow all safety and warning instructions on the packaging and in the instructions.
Tip: If you tint your eyebrows after a brow lifting treatment, the colour will be absorbed more intensely.
-
Mix the colour
Choose an eyebrow and eyelash tint that suits your skin tone and hair colour. Mix the colour exactly according to the instructions to achieve an even, long-lasting result.
-
Apply the colour
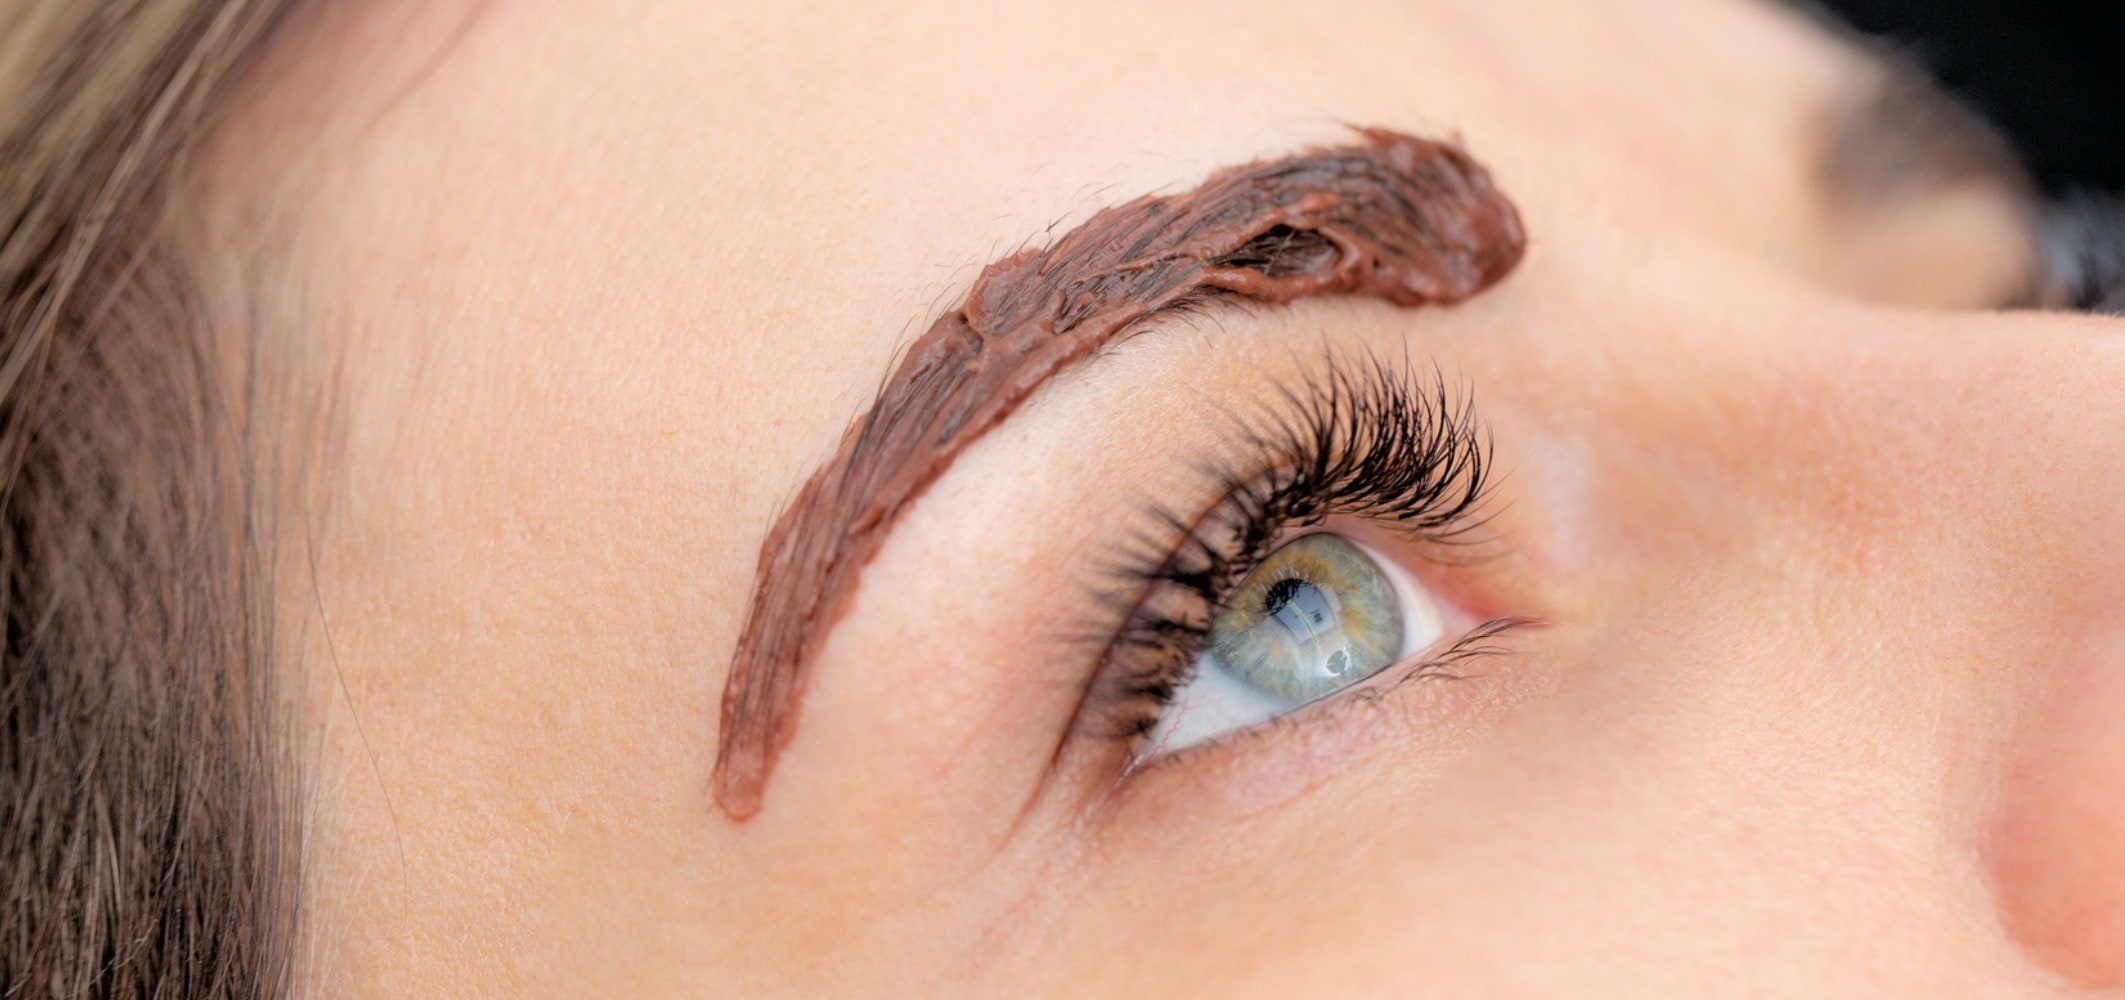
Divide each eyebrow into two zones and, ideally, mark them with a lightly washable make-up pencil or special marking pencil. Apply a protective skin cream such as Vaseline or Aquaphor around the eyebrows to protect the surrounding skin from the colour.
Zone 1: From the highest point of the eyebrow to the tail.
Zone 2: From the highest point of the eyebrow to the front.
First apply the colour to Zone 1 and leave it to develop for approx. 3–5 minutes. Then tint Zone 2 and leave the colour to develop for another 3–5 minutes.
-
Remove the colour
Soak a cotton pad generously with micellar water and gently wipe away the colour and any markings. Avoid rubbing too hard to prevent skin irritation.
-
Finish
Brush your eyebrows into the desired shape using an eyebrow brush.
Important: Avoid contact with water, toner or make-up remover for the next few hours so that the colour lasts as long as possible.
-
 Prezzo finale CHF 11.00
 -
-
 Prezzo finale CHF 8.00400 ml
 -


Who Is Brow Lifting Suitable For?
Since brow lifting only involves shaping your existing eyebrow hairs, this treatment is ideal for anyone looking for a natural, non-invasive alternative to permanent methods. However, it does require having enough natural eyebrow hair.
How Long Does Brow Lifting Last?
The results of a brow lift typically last around 4 to 6 weeks. How long the effect actually remains visible depends, among other things, on individual hair growth, hair structure, and aftercare. Over time, the brow hairs gradually return to their natural shape. The brow lift can then be refreshed as needed.
Brow Lifting & Tinting – Your Shortcut to Perfect Brows
With a brow lift and a matching tint you can make the most of your eyebrows – all from the comfort of your own home. The combination of lifted hairs and intense colour creates more definition, a brighter, more awake look and a well-groomed appearance that lasts for several weeks.
The benefit: You save time in front of the mirror every day and start every morning with perfectly shaped, naturally beautiful brows – without any extra effort.
Whether for everyday life, special occasions or simply to treat yourself a little – your eyebrows will thank you.