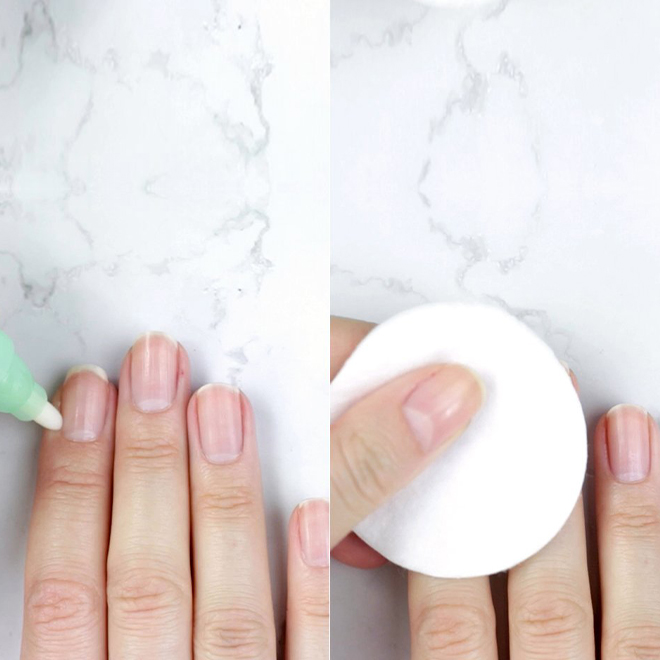
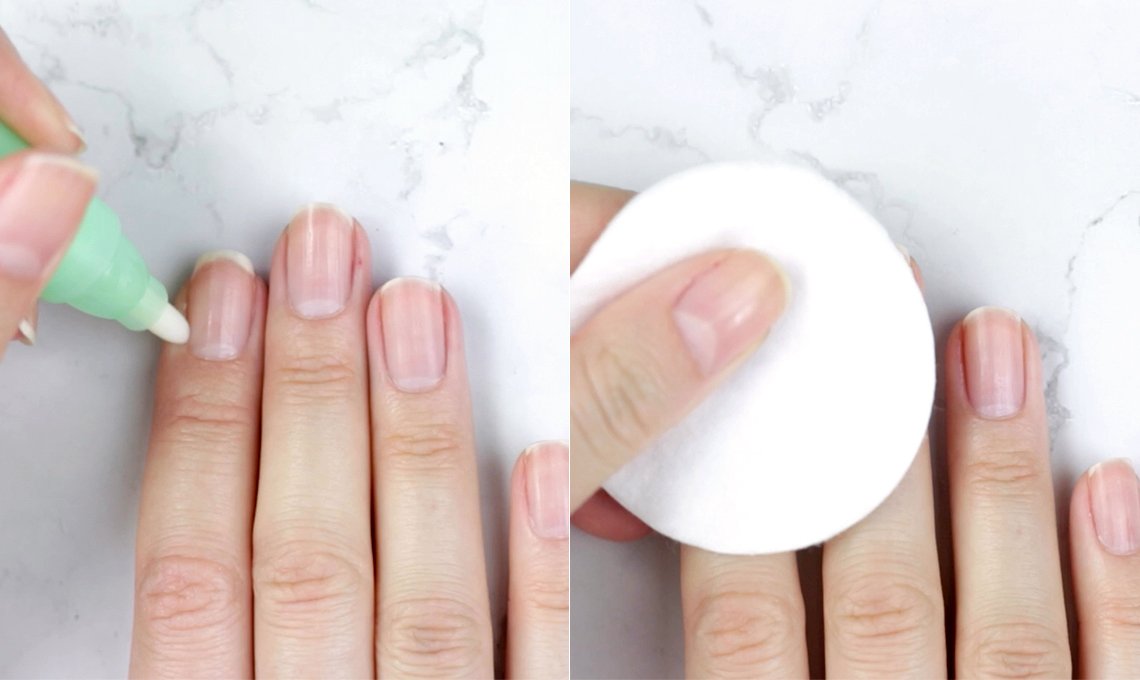
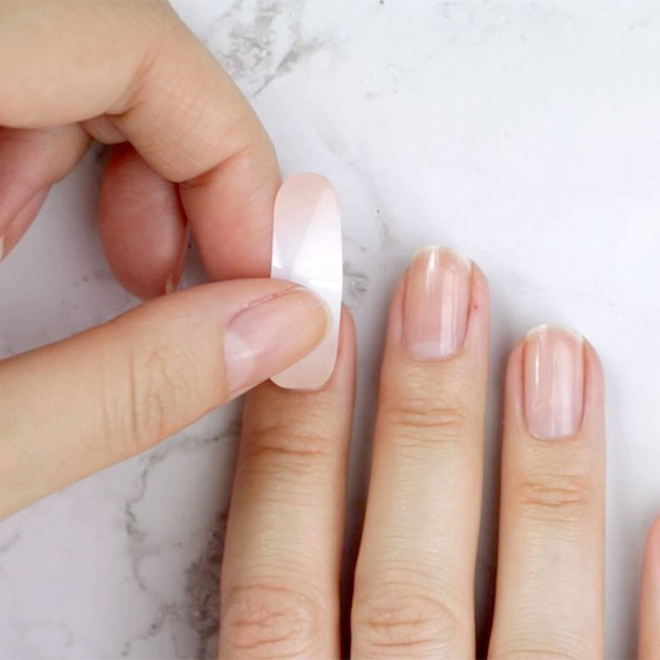
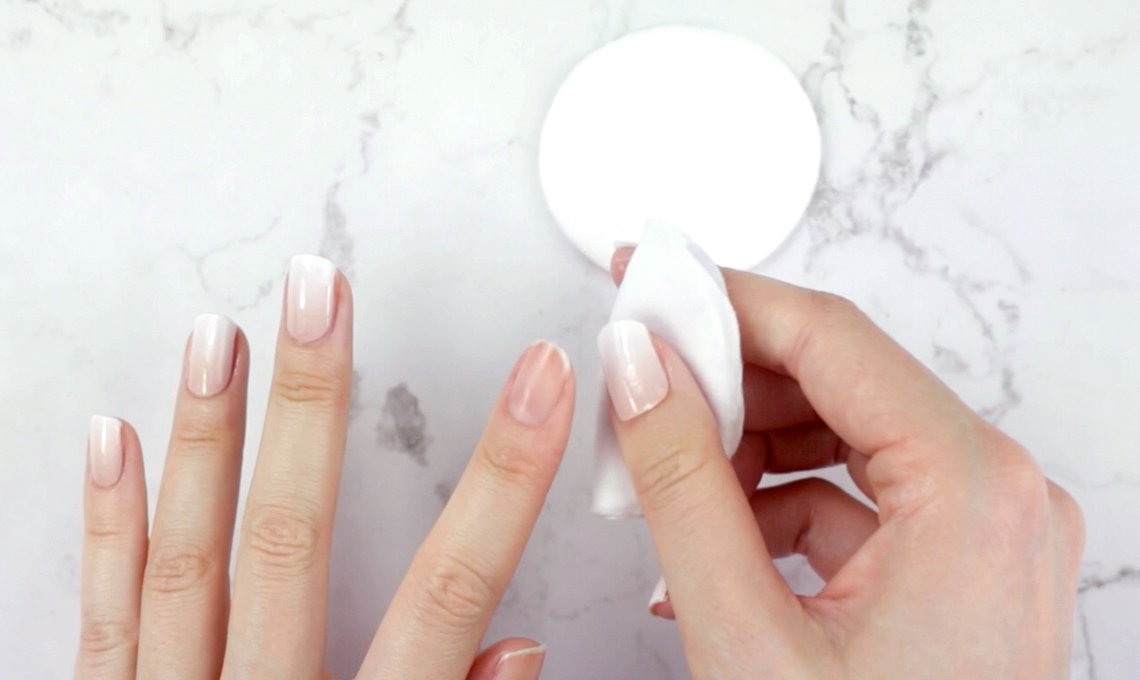
1. Cleaning and preparation
Clean your natural nail before you apply the Nail Wraps with nail polish remover, to free them from grease and dirt. Excess cuticle must be pushed back or removed from the nail, otherwise, there's a danger of the Nail Wrap sticking to the cuticle. As a consequence of this, the Nail Wrap does not stick completely to the nail, allowing air and moisture to move under. This will interfere with the durability of the product.
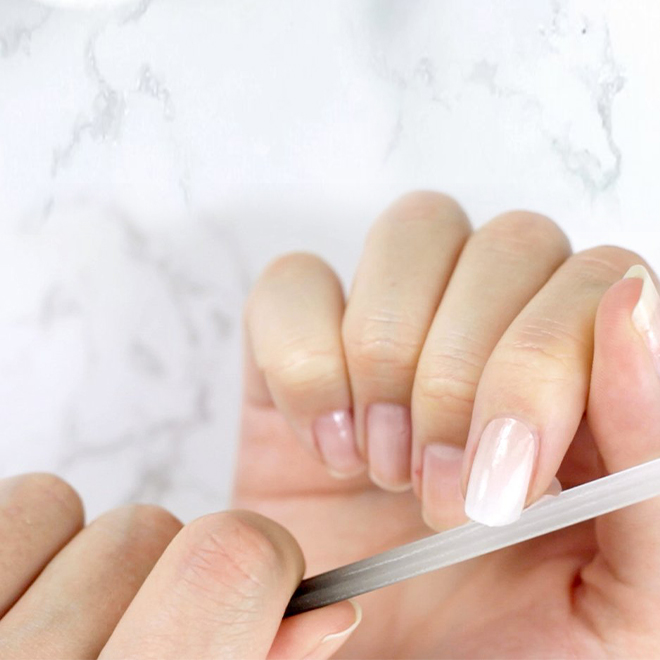
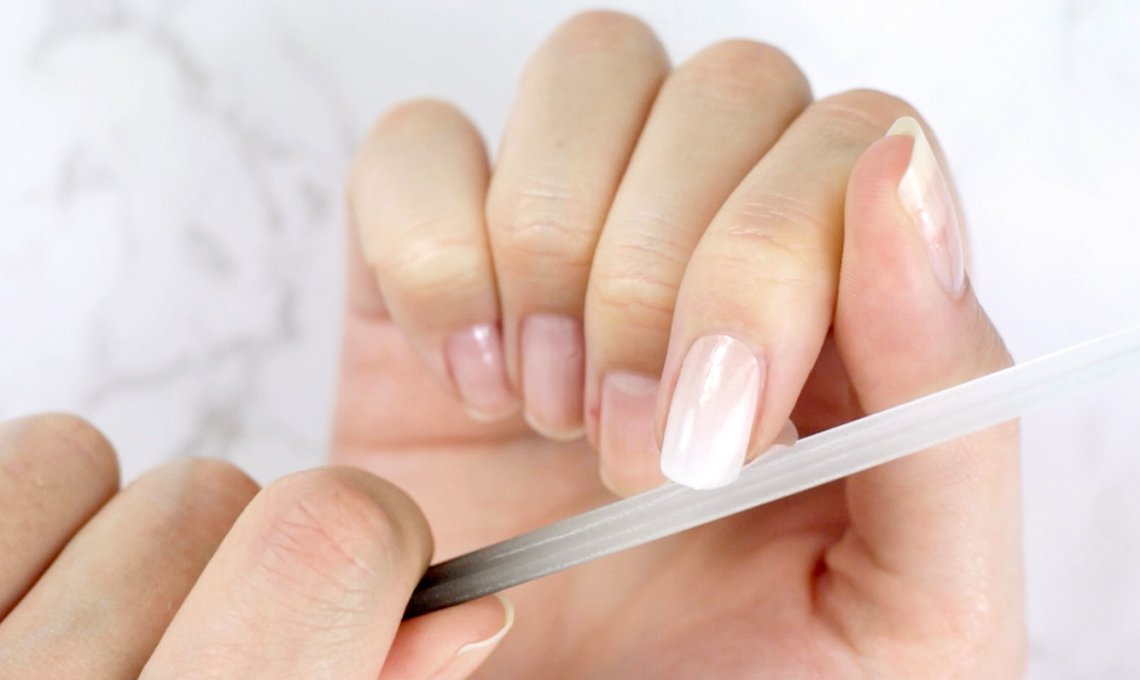
Tip: For sensitive or damaged nails, we recommend a nourishing and restorative base coat of your choice to apply before using. Even with grooves and strong structures in the natural nail, we recommend a strengthening base coat to compensate for bumps. In this case, the natural nail must not be treated with polish remover, as the base coat provides a good and oil-free base for Nail Wrap application.