

Brow Lift: perfect eyebrows with andmetics
- By Lara Grimm
- Jan 13, 2022

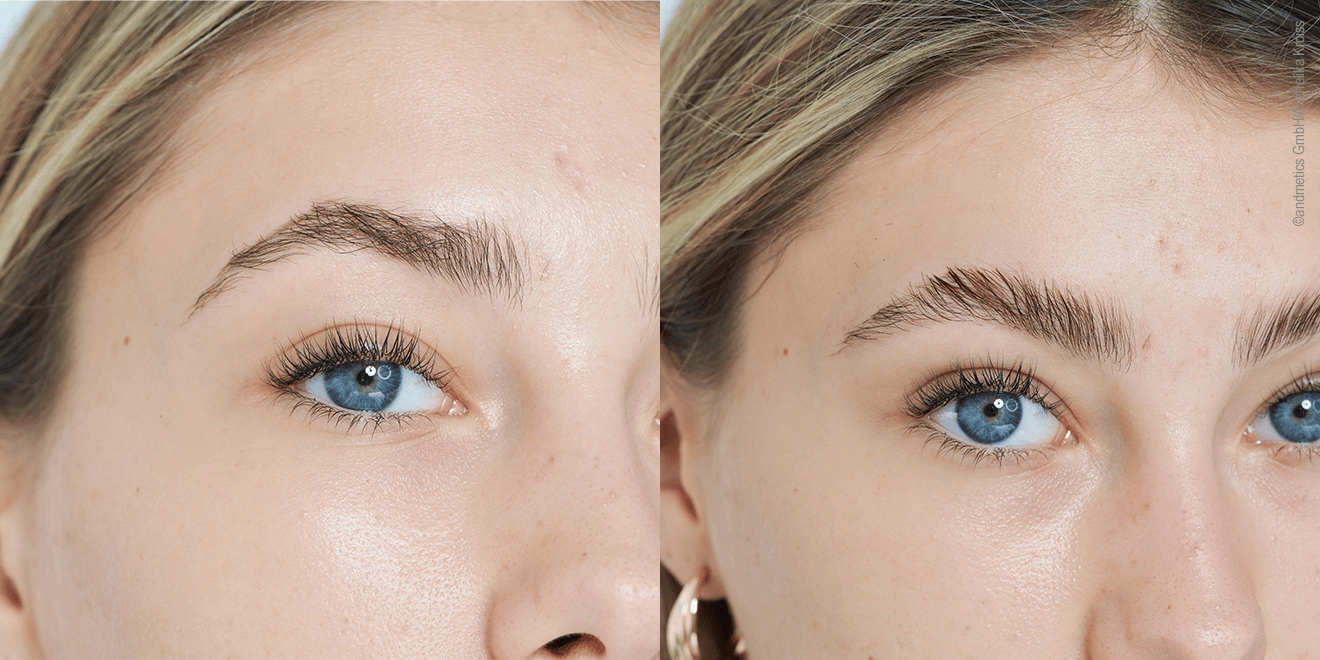
Morning morning, the alarm clock rings for the 3rd time and it's time to get up. A sleepy glance in the mirror and - oha! Your mirror image is already looking at you fresh and chipper! The trick behind it: A brow and lash lift: permanently fan out the eyebrows, lift them and fix them in the desired shape. Because with this you "open up" your look and look awake - without eyebrow pencil and mascara. And you can use the time you save on make-up for coffee and waking up properly.
In the 1st part of the lifting posts, you can now find out how to do a long-lasting eyebrow lift with andmetics and how to colour your eyebrows at the same time for an even more intensive result.
Eyebrows frame our face and create a strong facial expression. For example, they reveal when we are surprised, worried, alert or tired. And that's exactly what you can use to your advantage! With a brow lift you permanently raise the brow hairs, which automatically creates a wonderful and fresh look - even if you don't feel that way at the moment. You can also conceal gaps in your brows and create bushy eyebrows - so you're right on trend! The perfect eyebrow shape is child's play with the Eyebrow & Eyelash Lifting Set from andmetics!
What you need for lifting and tinting
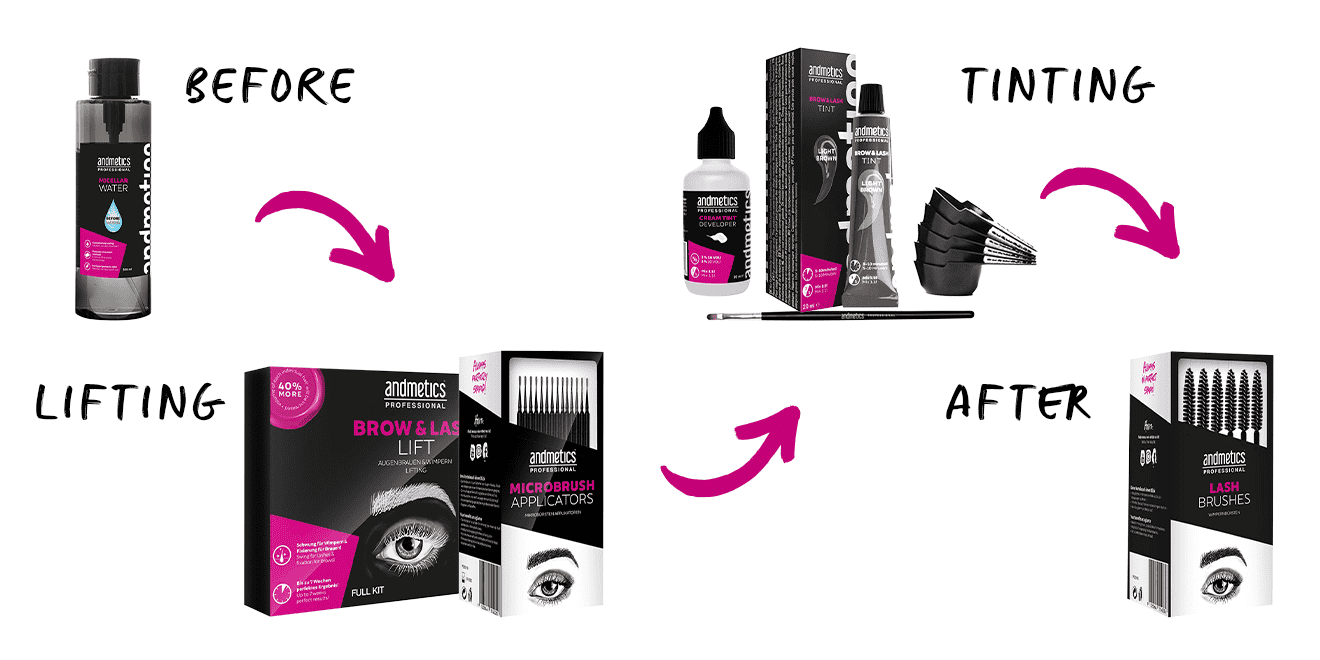
Before:
- Micellar Water (not included in the set)
Lifting:
Tinting
- Eyebrow and eyelash tint (brown, light brown, black, graphite, blue/black,not included in the set)
- Colour developer (creamy or liquid, not included in the set)
- Dying cups (not included in the set)
- Dyeing brush (not included in the set)
After that:
- Micellar Water
- Brow Brush (not included in the set)
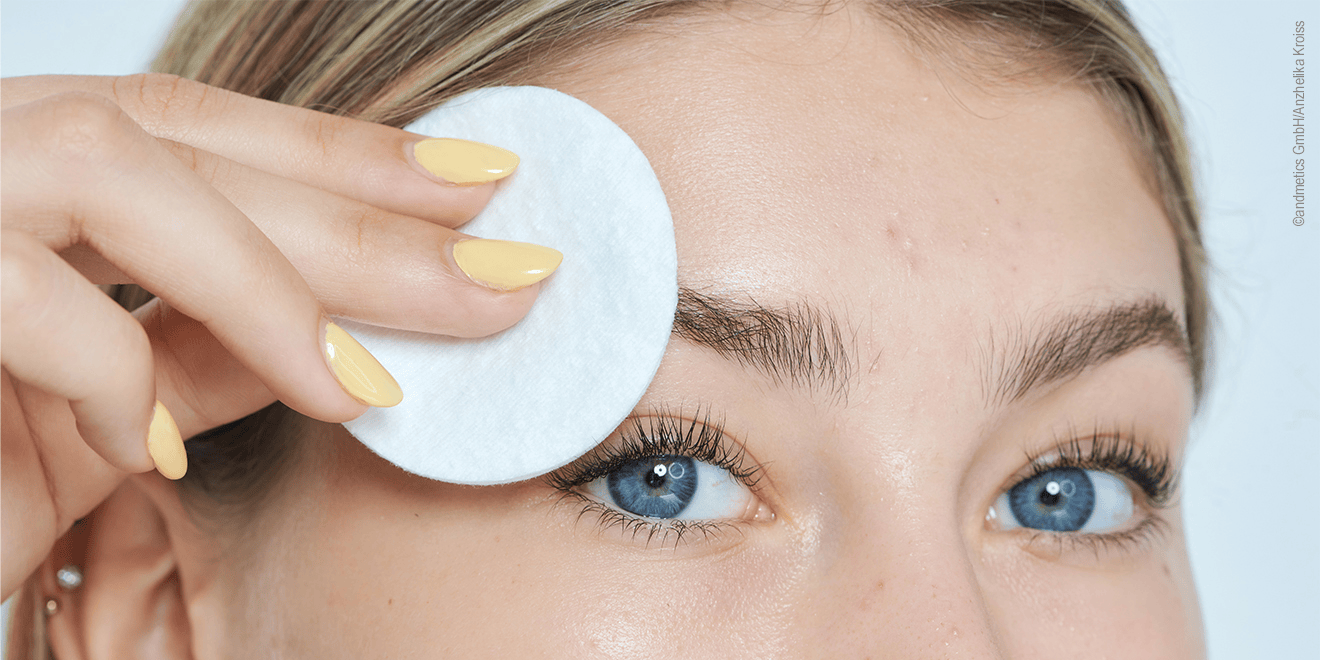
Before: clean
Before the Brow Lift, thoroughly cleanse the eyebrows and the skin around them with the Micellar Water.
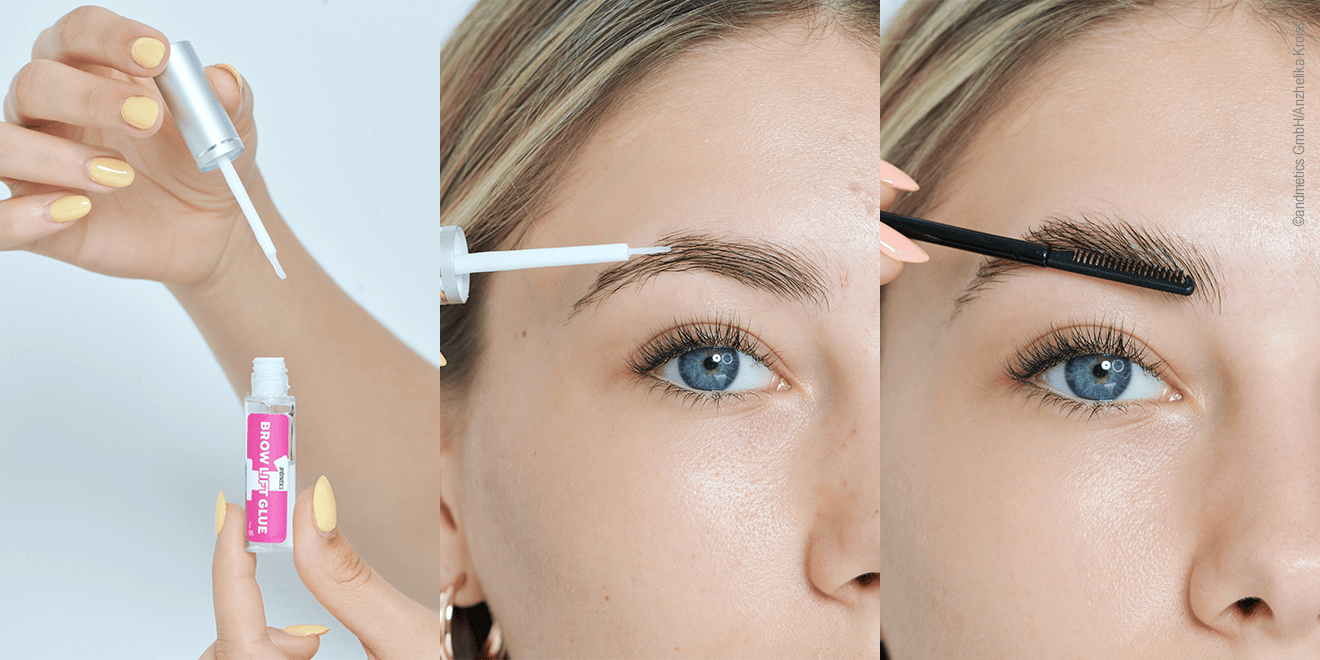
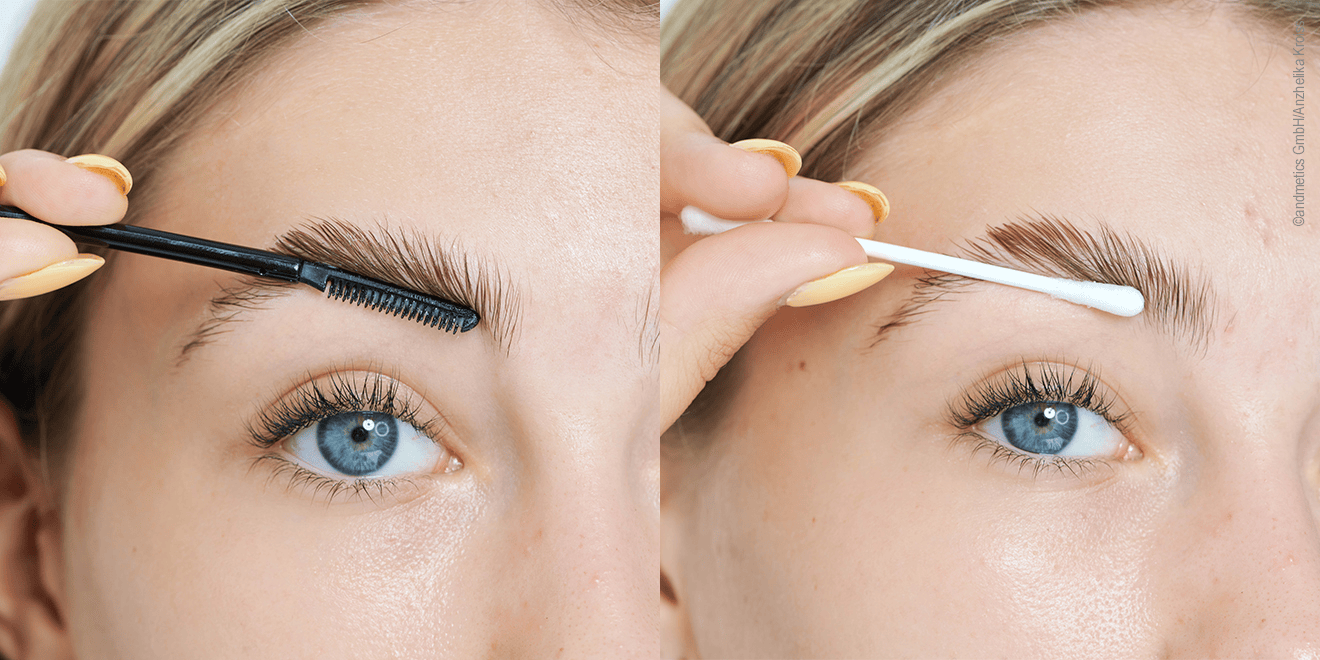
Step 1: Apply lifting adhesive
Apply Lifting Glue to the eyebrows and wait for the glue to dry. Then take a Lifting Brush and use the comb to brush the eyebrows upwards into the desired shape.
There are 2 different glues:
- Lifting Glue Starter: works after 45 seconds.
- Lifting Glue Expert: works immediately.
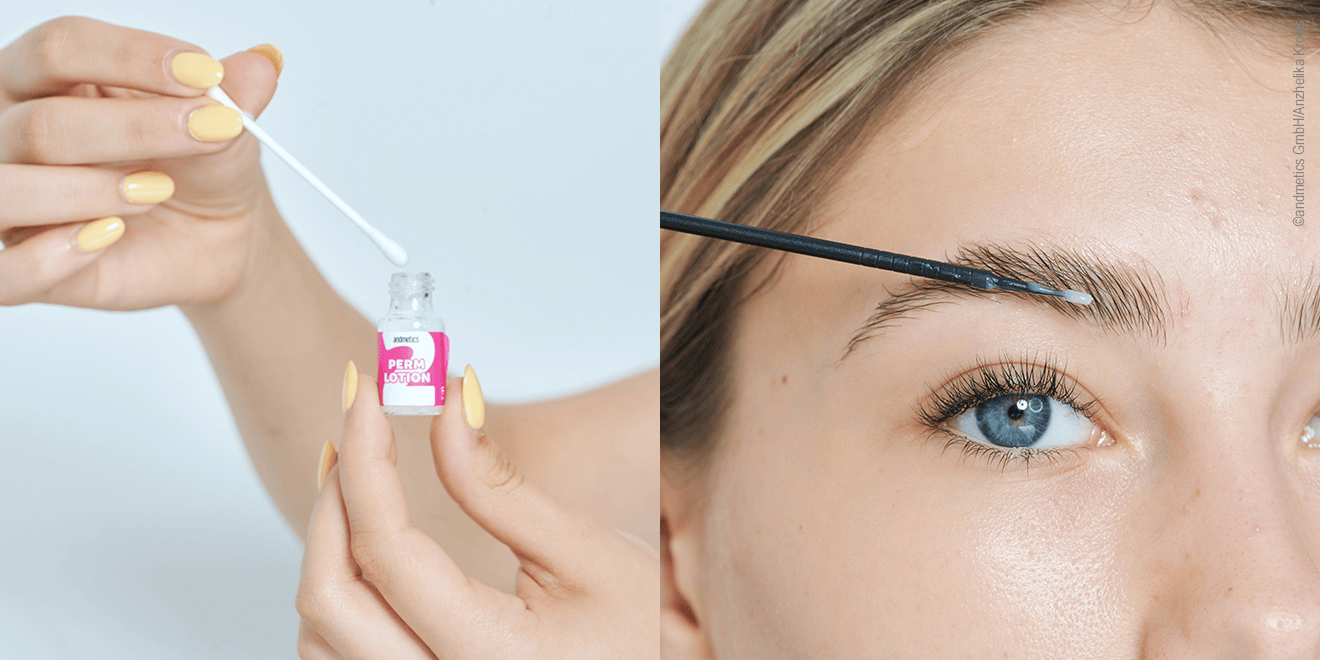
Step 2: Apply reshaping lotion
Pour perm lotion onto a Microbrush. Carefully apply it to the entire eyebrow - preferably in a flowing motion and without pressure.
Important: Do not allow the lotion to get into the ends of the hair, only on the hairs of the eyebrows.
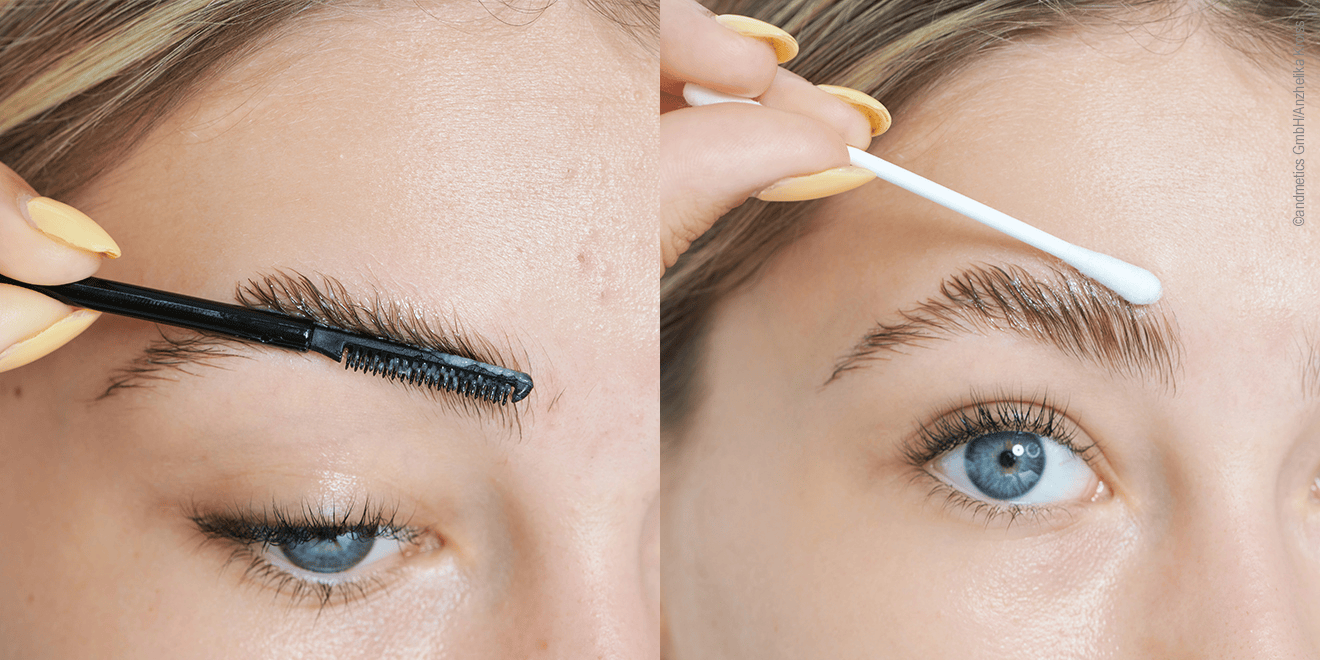
Step 3: Remove reshaping lotion
Remove the perm lotion with the flat side of the Lifting Brush. If needed, you can also use a dry cotton swab or cotton pad to help.
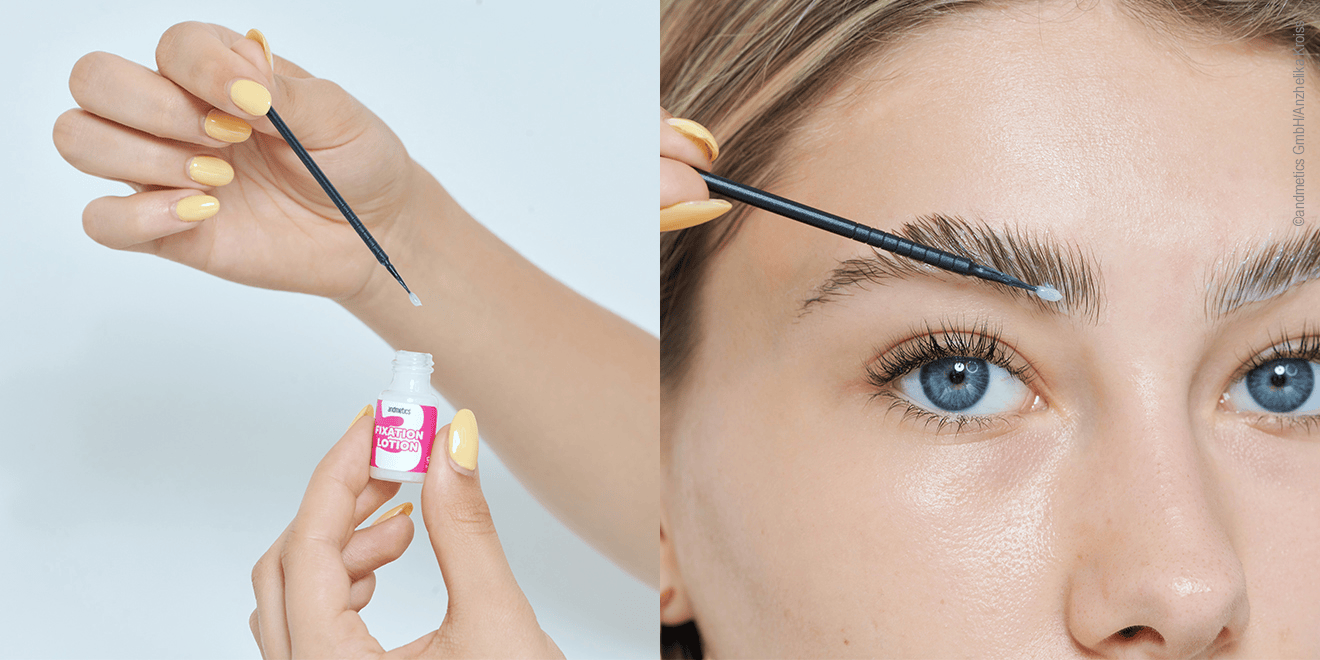
Step 4: Apply setting lotion
Carefully apply the Fixing Lotion to a Microbrush and place it in the eyebrows. Apply the lotion in a flowing motion and without pressure.
Important: Do not allow the lotion to reach the ends of the hair, only the hairs of the eyebrows.
Perm & Fixing Lotions: different application times
There are 2 different perm and fixing lotions
- Perm & Fixing Starter: normal application time
- Perm & Fixing Expert: extra fast application time
The application time depends on the type of lotion and the thickness of the eyebrow hairs:
Fine hairs
Starter: 7–8 minutes
Expert: 3–4 minutes
Normal hairs
Starter: 9–10 minutes
Expert: 5–6 minutes
Strong hairs / brows growing downwards
Starter: 10v12minutes
Expert: 7–8 minutes
Step 5: Remove fixing lotion
Remove the fixing lotion with the flat side of the Lifting Brush. You can then remove any residue with a dry cotton bud or cotton pad.
Tinting eyebrows
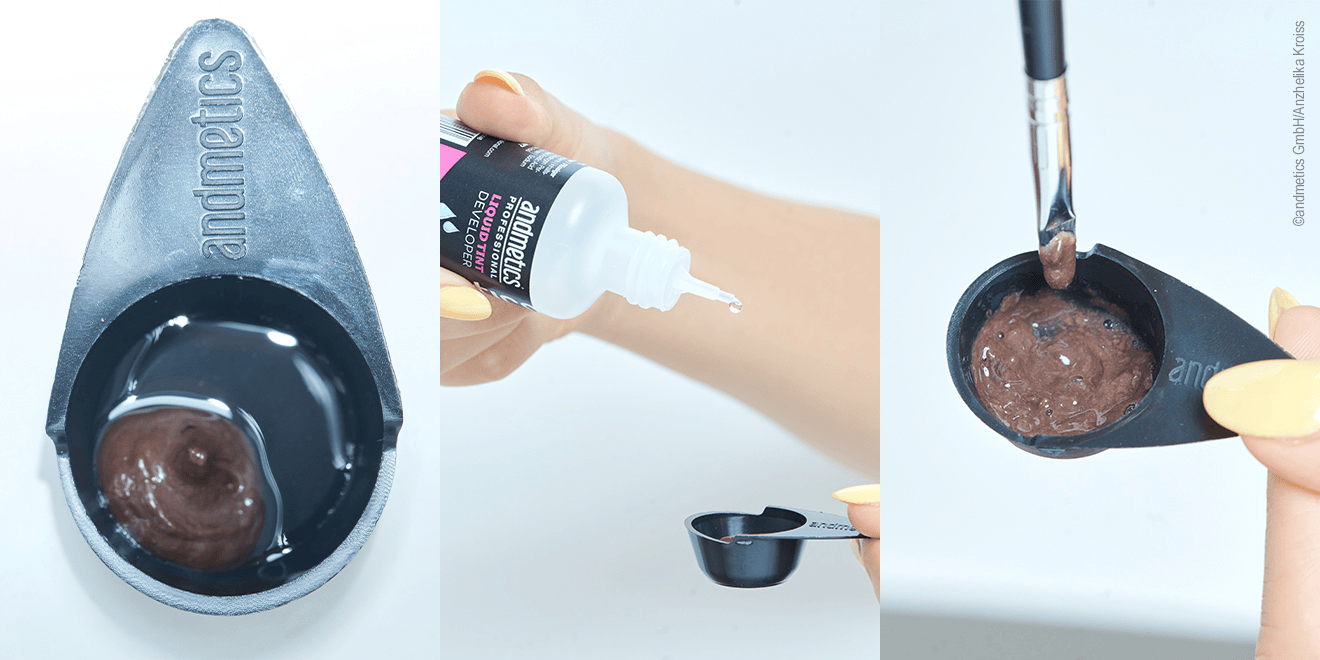
Step 1: Mix the colour
Choose an eyebrow and eyelash colour in a matching shade. Mix the colour in a 1:1 ratio with an andmetics colour developer in a tinting bowl.
There are 2 different colour developers:
- Colour developer creamy: for a slightly thicker, creamier colour mixture.
- Colour developer liquid: for a thinner, more liquid colour mix.
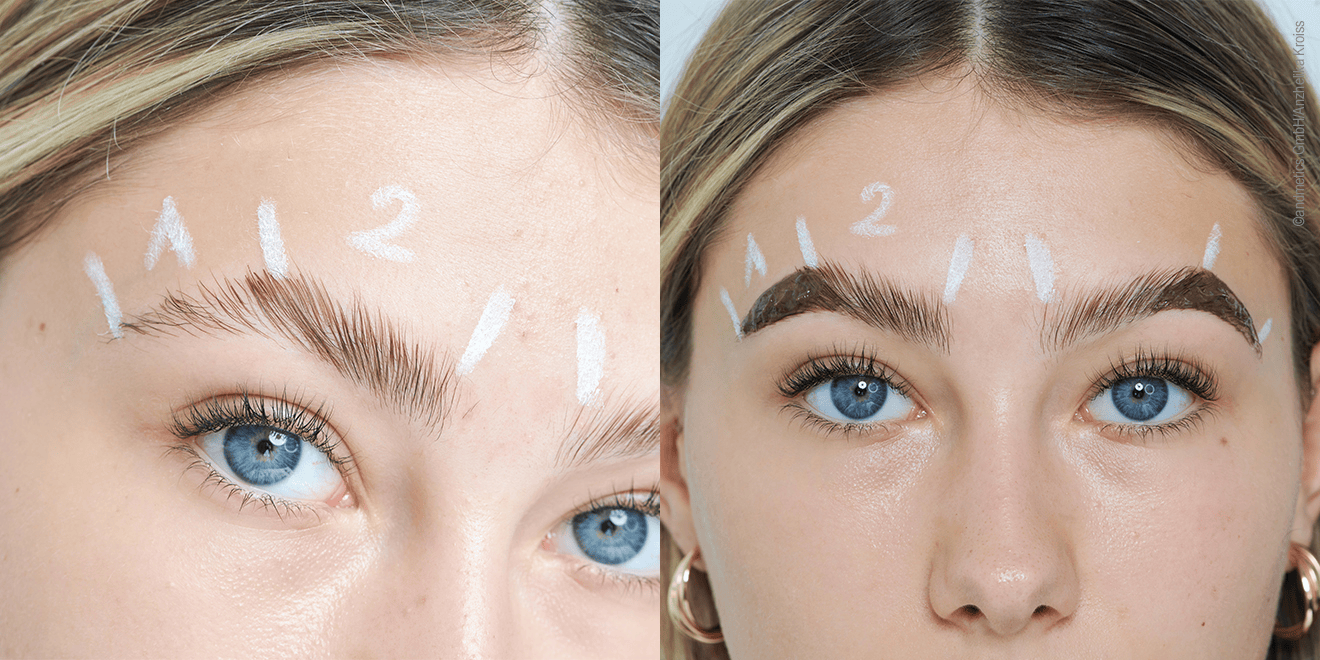
Step 2: Apply the paint
Separate the brows into 2 zones each. If needed, you can mark the zones with easily washable make-up pencils or chalk.
- Zone 1: highest point of the eyebrow to the end of the brow.
- Zone 2: highest point of the eyebrow to the beginning of the brow.
First colour the hairs in zone 1 and leave the eyebrow colour on for about 3 minutes. Then apply the colour to the rest of the eyebrow (zone 2) and leave it on for another 3 minutes.
Important: After a Brow Lift, the eyebrows take on colour more strongly!
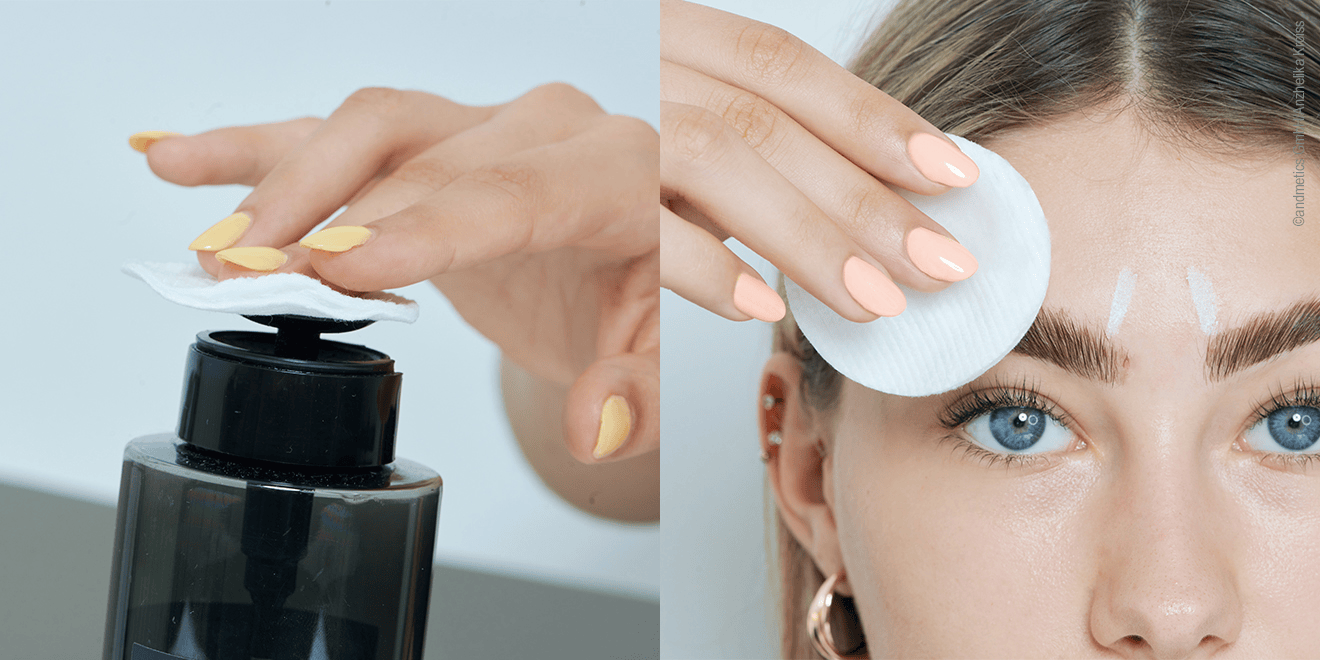
Step 3: Remove colour
Place a cotton pad on the pump lid of the Micellar Water and press down. This will soak up the rondelle with the cleansing water. Use it to remove the colour and the marked help, for zoning.
Afterwards: here's how to achieve the perfect finish
With a Brow Brush you can now shape your eyebrows!
Important: Avoid contact of the eyebrows with liquids such as water, toner or make-up remover. This is the only way to achieve a perfect result!